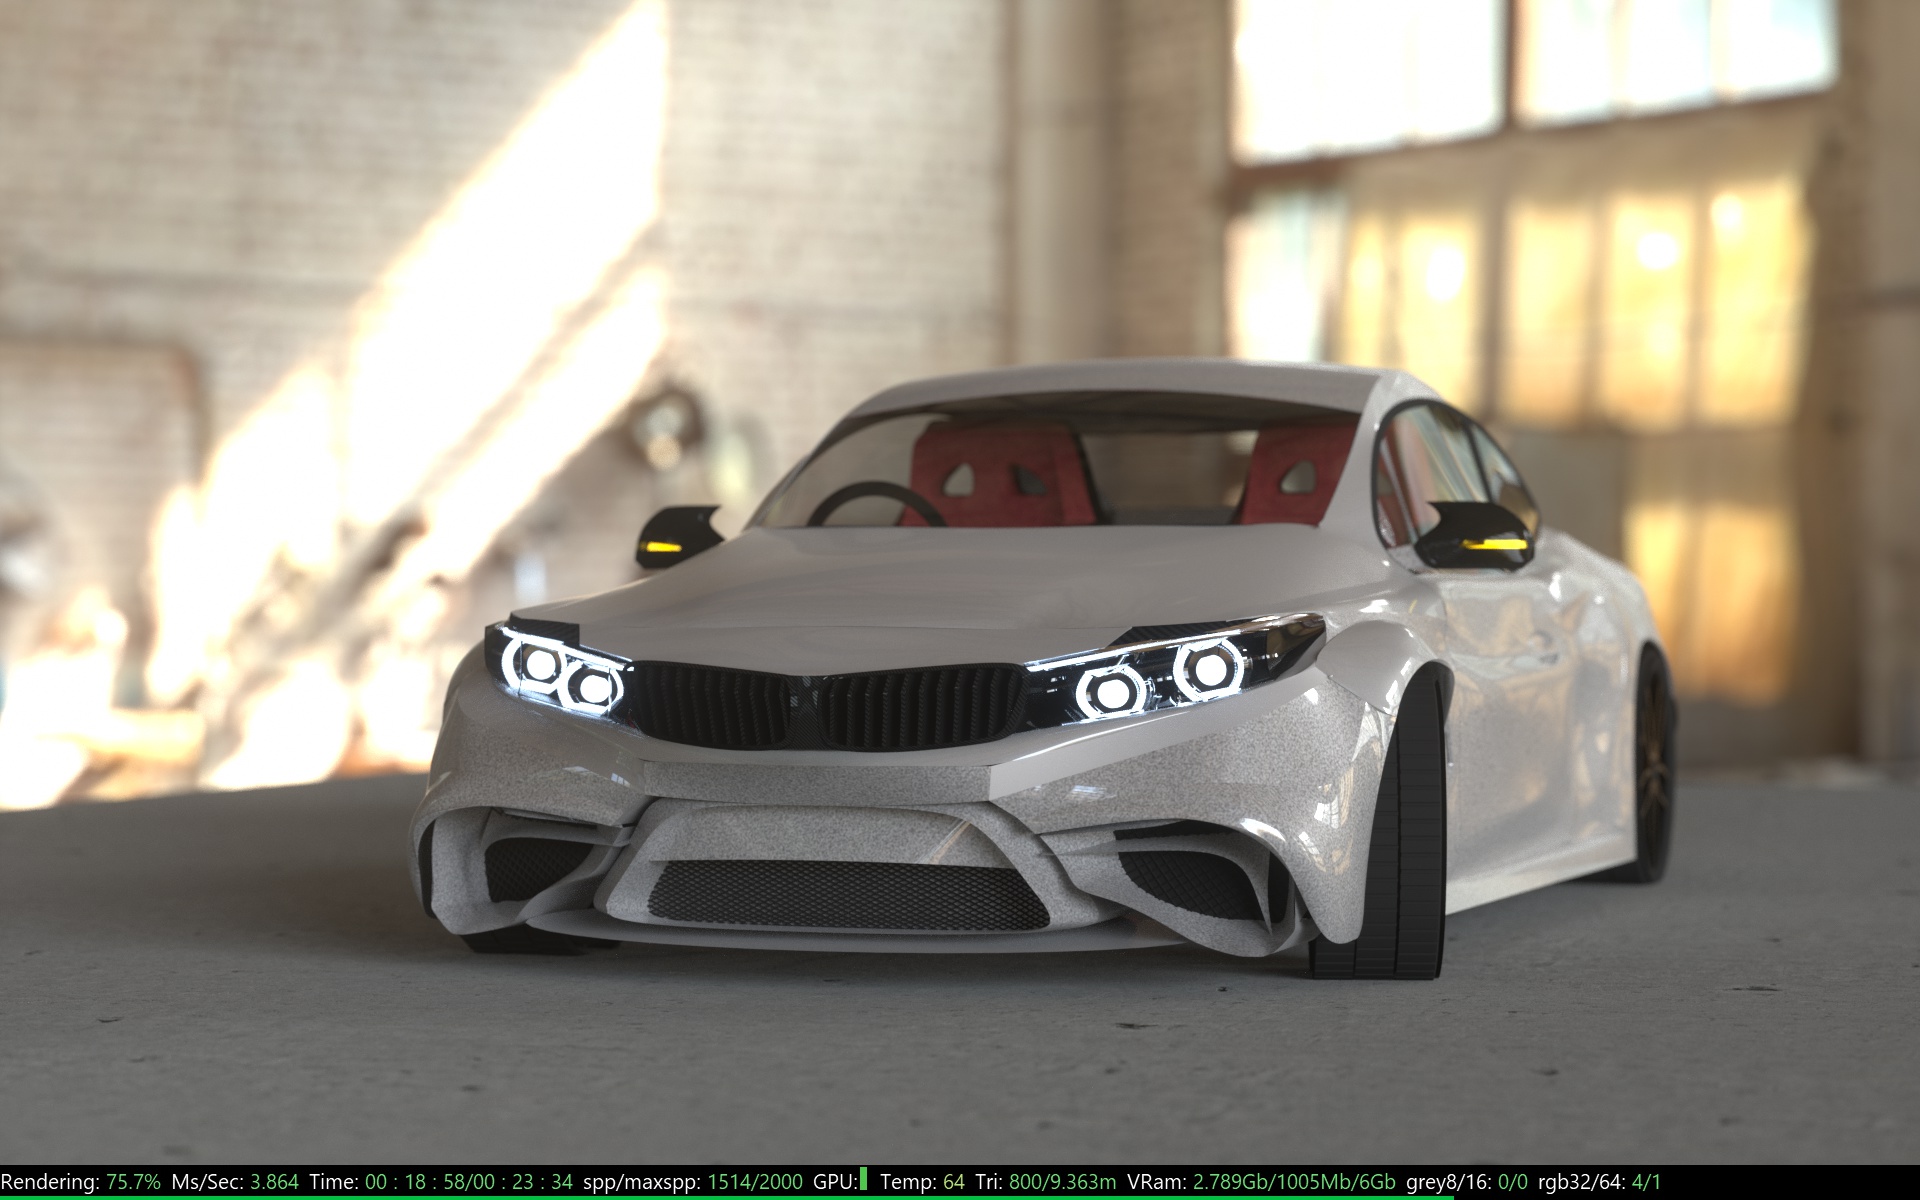
Car Project.


Throughout the study of my Architecture related degree, we were always challenged with the idea of traditional vs modernist. One particular theme that was consistently brought up was the idea of the curve, or "free form", how the evolution of technology has lead designers to be encouraged to use more free form ways of design.
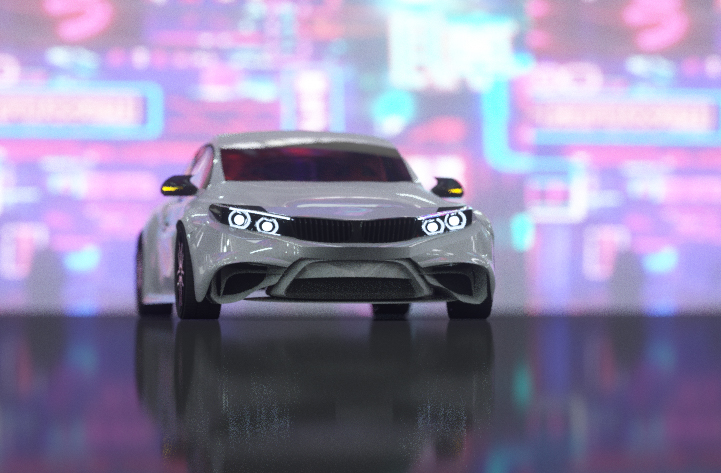
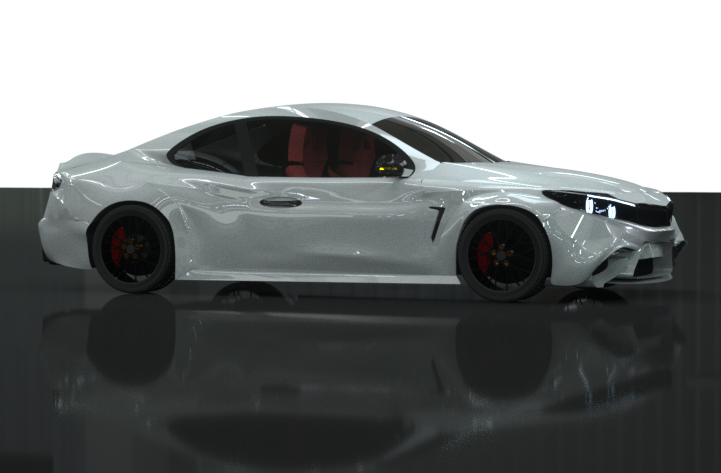
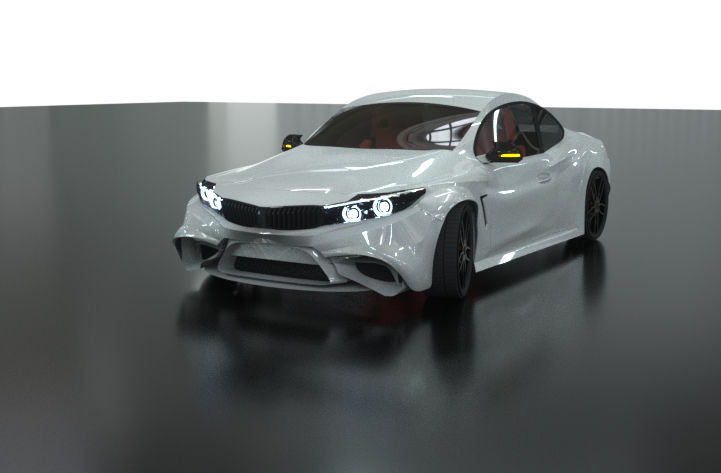
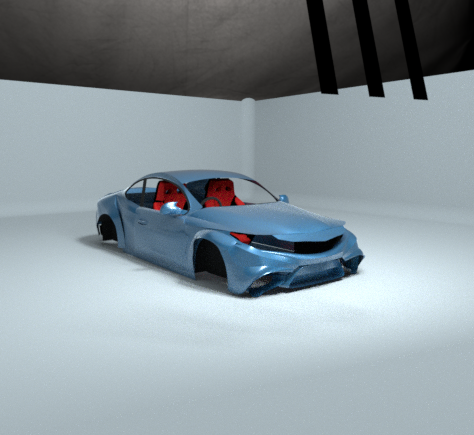
A car, at its core, is a chaotic combination of curvatures in one, considerably small package. I wanted to test my ability in creating how free my digital skills can be, and hence tried to create a car of my own design.
This was a self initiated project, but was also submitted for the Lebrov Winter challenge 2019.
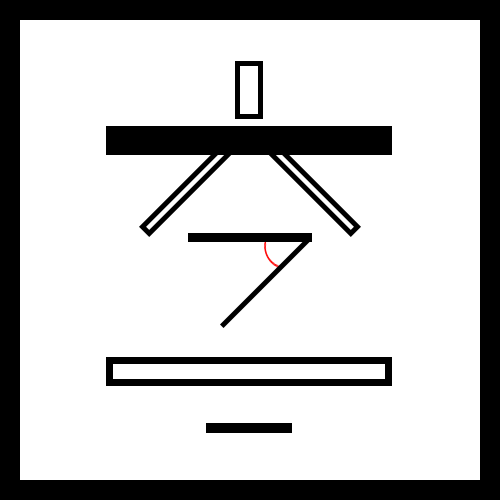
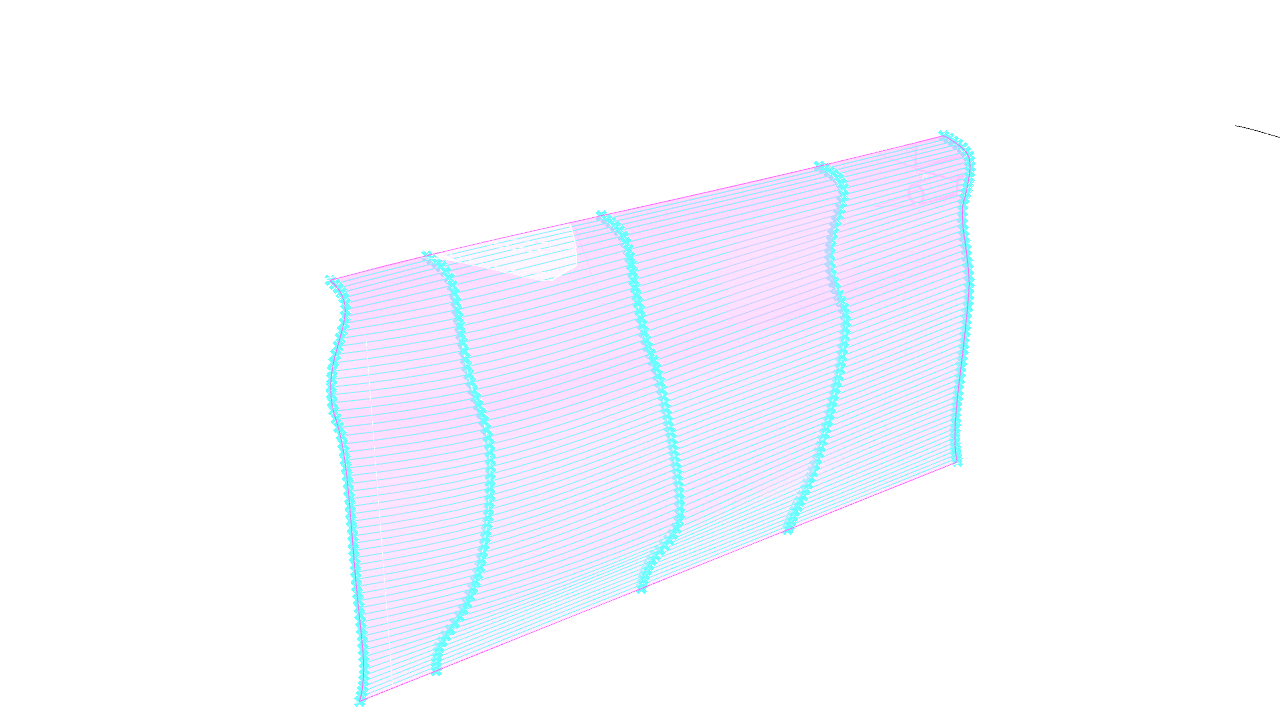
Node-based modeling, that allows you to create objects in a non-destructive hierarchy. Allowing re-usable scripts and streamlining production speed for alike objects of the same nature, which is perfect for cars with many differing curves. Below is a small example of how i used Node based hierarchy to create an outside door panel in Rhino3D + Grasshopper.
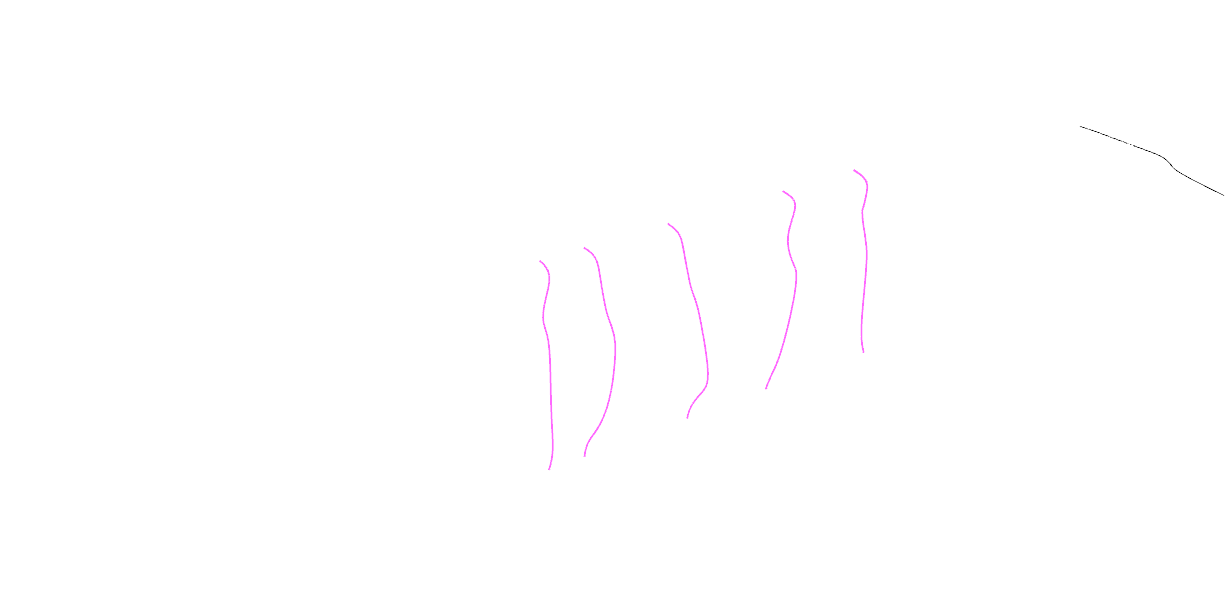
This Node allows us to collect the curves that I created natively in Rhino and set them as a reference for the rest of our 'script' in Grasshopper
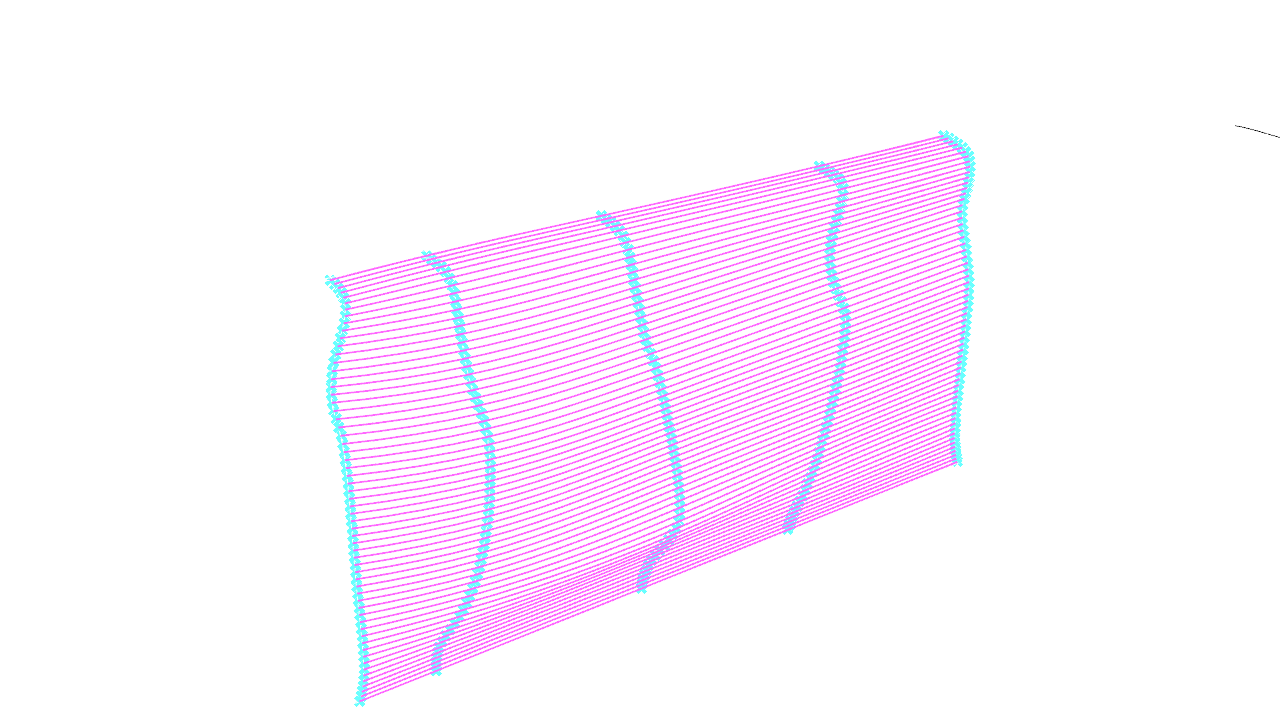
And lastly, the Loft Node tells the program to create a surface based off the curves given. But because of the script we just made, it means we now have curves on both X and Y axis, providing a much more detailed and accurate production of the surface.
With the curves now collected into Grasshopper, I used the Divide Node to evenly allocate a 'point' on the curves. Each of these 'points' are now registered points in a 3D space with data that contains x,y,z that allows me to manipulate the curve more accurately.
However, the current data set or "tree" is currently read as, each curve as a whole. Hence I applied a graft node so that EACH point can be registered/ referred to each other rather than the parent data which is currently set to the curve itself (this is a very simplified explanation)
After Grafting, as stated before, allows me to control each point individually, and now I merged the whole data set into one component, making a cleaner workspace and easier use
Interpolate is a technical term that essentially just means to connect each data set given. So in this case, each point provided, now has a curve that runs throughout each of them.

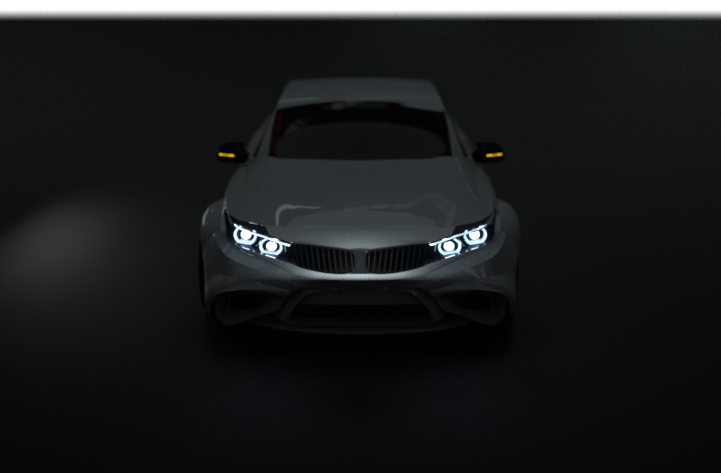
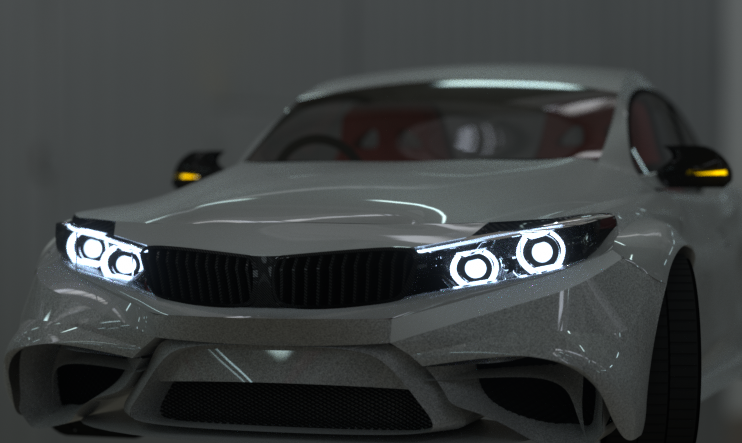
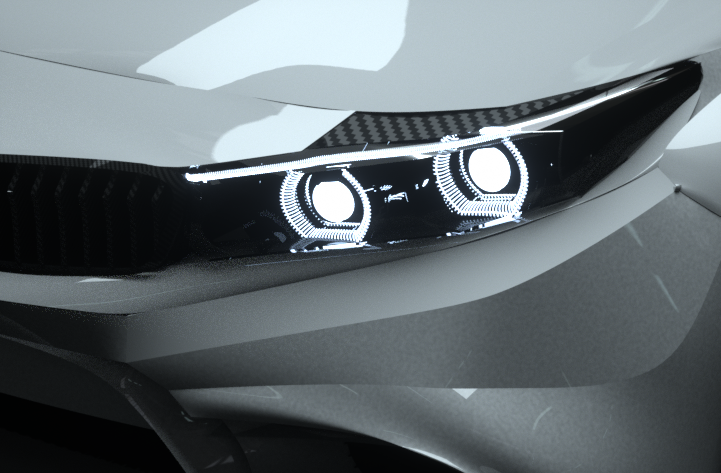
The material is one of the most essential steps in allowing the render to be realistic. Using Octane Renderer, and its Node based operation of creating textures, the goal was to create a reflective gloss material that would give a visual feel as if a looking at a realistic car.
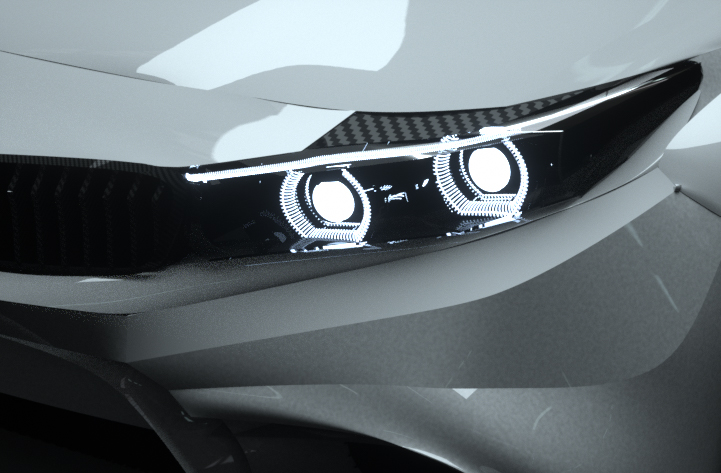
One of the defining factors of this glossy material, is how it would react to light. Car paint often changes in tint and darkness depending on the angle your eye views it due to the thin layer of overcoat/ wax cars have.
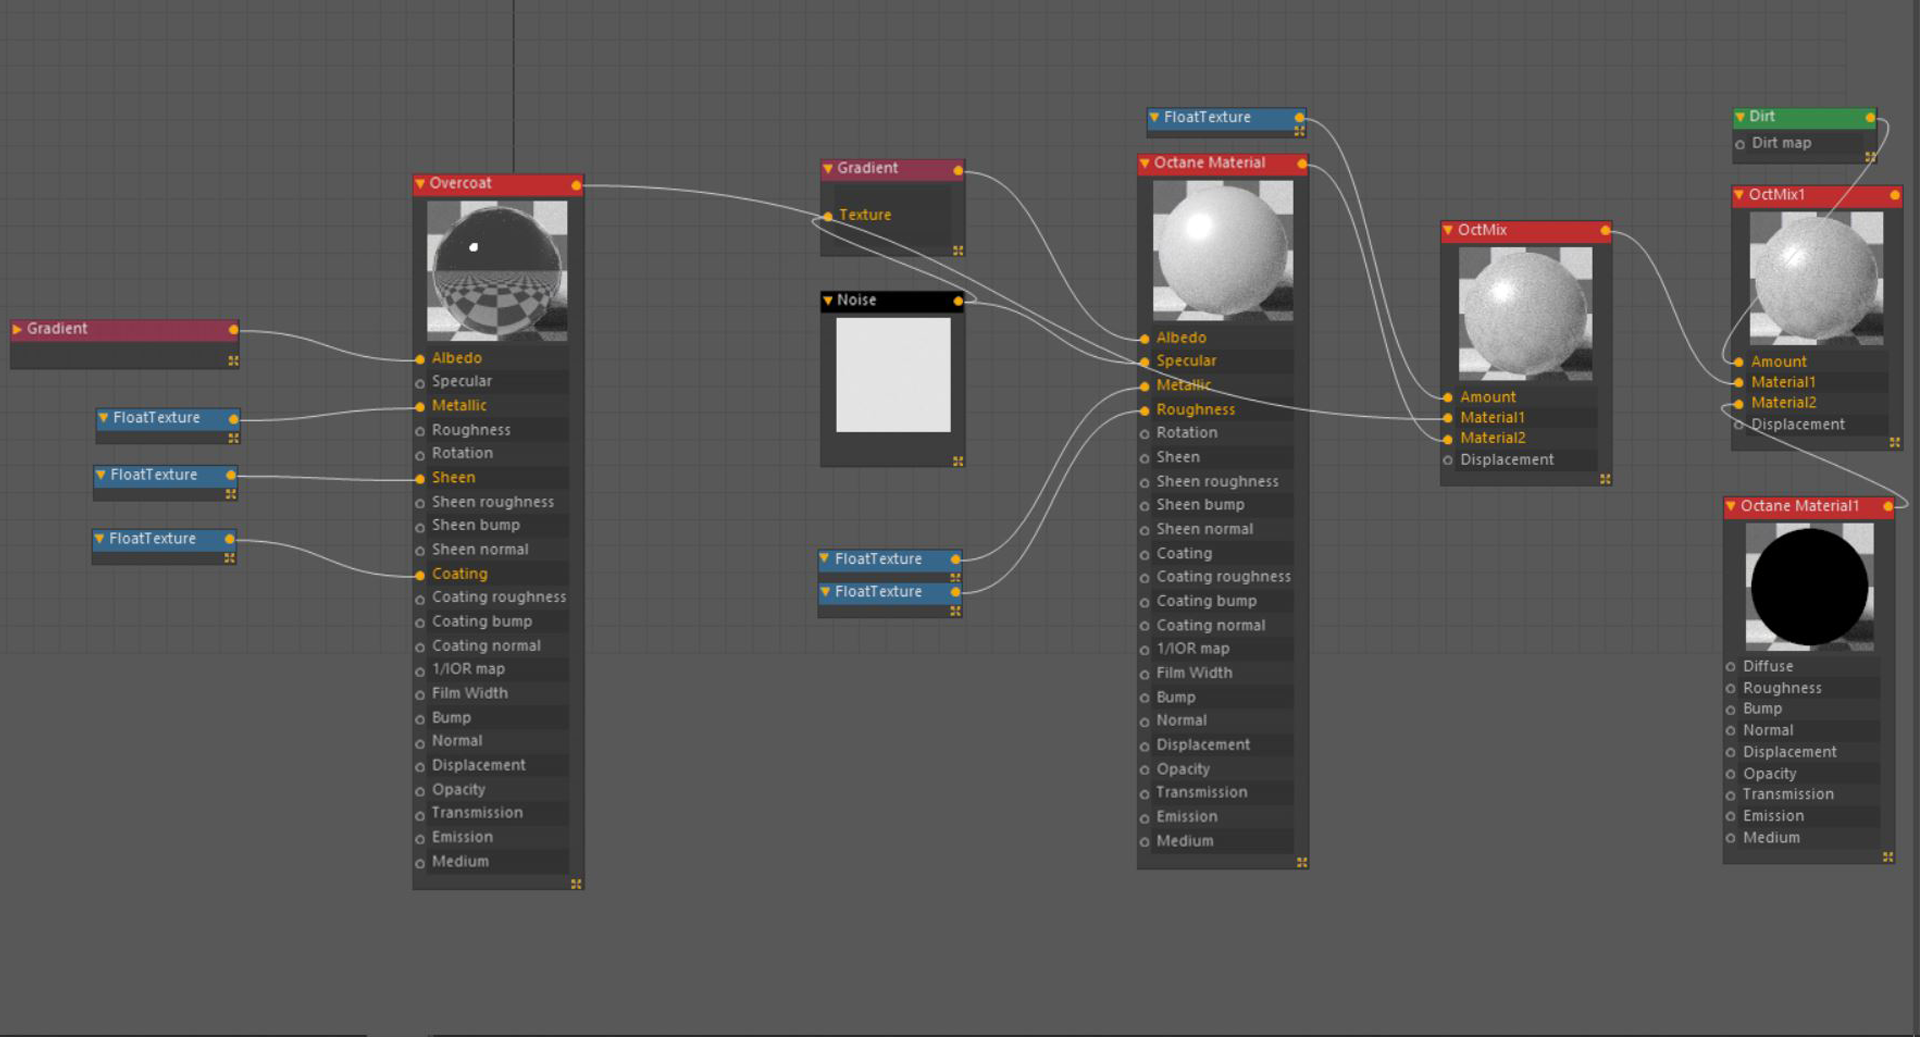
Using Octane's Node Based material editor, I formed two different materials and mixed it into one. The idea is simply, and quite a like real life car paint. There is an undercoat that defines the color and coarseness of grain. Then there is the glossy layer, or overcoat that is layered on top of the color. This creates the shine, whilst also giving the material thickness to more accurately represent lighting hitting a coat of wax/ polish. I used a gradient for the undercoat to create the illusion of metallic 'ness', where the further or deeper a certain color is on an angle, the color hue/ darkness changes slightly. In the center, the noise component is to create the imperfection in car paint. When inspected closesly, not a single car paint is perfectly smooth, each has a grain like attribute to them.